Walk onto any framing job or finish carpentry site and the experienced hands are immediately obvious — not just by how they work, but by what they’re carrying. Their tool belts are worn in, organized in a way that makes sense to them specifically, and built up over years of figuring out what they actually reach for versus what they thought they’d need.
If you’re getting into carpentry — through a trade school program, an apprenticeship, or a career change — you won’t have that kit on day one. You don’t need it. But you do need to show up with the right basics and know what you’re working toward. Arriving unprepared on a job site or the first day of a program is one of the fastest ways to make a bad first impression.
This guide walks through what carpenters need at each stage: the hand tools that are non-negotiable from the start, the power tools you’ll add as you take on more varied work, the protective gear that keeps you safe on construction sites, and how to think about building your kit without overspending early on.
Day-One Essentials

These are the hand tools and basics you’ll need from your first week in a carpentry program or apprenticeship. If your program provides a required tool list, always follow that first — but the items below appear on nearly every beginner list across the trade.
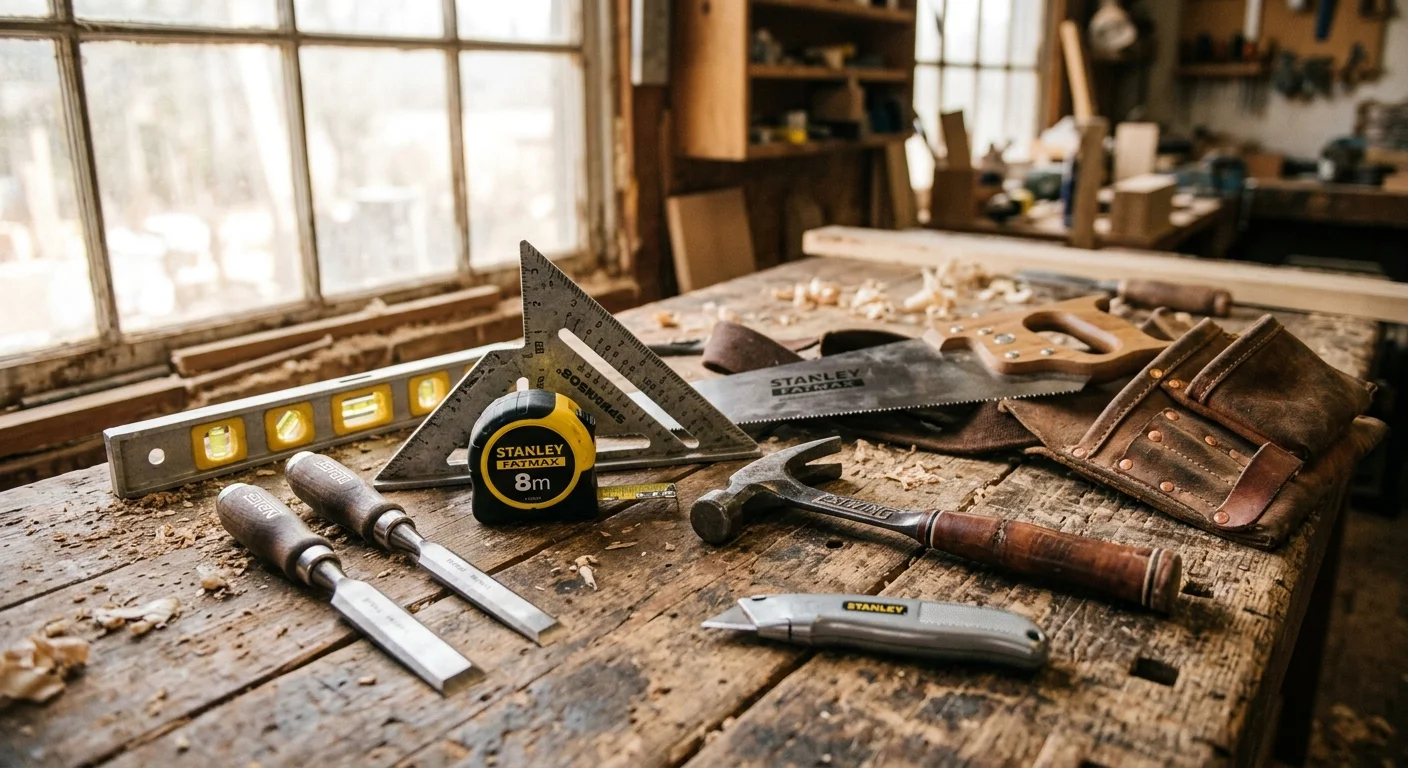
Tape Measure
A 25-foot tape measure is the standard for framing and general carpentry work. Look for one with a blade standout of at least seven feet — that’s how far the blade extends before it collapses under its own weight, which matters when you’re measuring solo. The hook on the end should slide slightly (it’s designed that way to account for its own thickness when measuring inside vs. outside dimensions), and it should lock without any slop.
Speed Square
A speed square is a triangular layout tool for marking 90-degree and 45-degree cuts quickly. Every framer uses one constantly. You’ll use it to mark lumber before cutting, check that corners are square, and guide your circular saw for quick crosscuts. Get one that fits easily in a tool belt pouch.
Framing Square
Larger than a speed square, the framing square is an L-shaped metal tool used to lay out stair stringers, rafters, and larger framing assemblies. It’s less of an everyday carry item and more of a layout tool you reach for on specific tasks — but it’s indispensable when you need it.
Levels
A 4-foot level handles most framing and installation tasks. A shorter torpedo level (around 9 inches) is useful in tighter spaces. Look for vials that are easy to read from different angles, and a frame that won’t warp — aluminum bodies hold their accuracy better than cheaper alternatives over time.
Chalk Line
A chalk line snaps a straight reference line over long distances, which you can’t do accurately with a pencil and ruler. Framers use them constantly to lay out wall plates, mark sheet goods, and establish reference lines on slabs. It’s inexpensive and small — keep it in your bag from day one.
Framing Hammer
A 20-ounce or 22-ounce framing hammer is the standard for rough carpentry and framing work. The extra weight drives nails with fewer swings and reduces fatigue over a full day of nailing. Finish carpenters often use a lighter 16-ounce for more controlled work. Rip claw vs. curved claw is a preference thing — rip claws are better for prying; curved claws have a slight mechanical advantage for pulling nails.
Nail Puller
Also called a cat’s paw, a nail puller lets you extract embedded nails by digging under the head. It’s the tool you reach for when a framing nail needs to come out and a hammer claw won’t get enough grip. A pry bar serves similar purposes for demolition and material removal.
Chisels
A basic set of bench chisels in 1/4”, 1/2”, 3/4”, and 1” widths handles most carpentry tasks: cleaning out mortises, trimming door hinges, fitting trim, and general paring. Keep them sharp — a dull chisel requires more force and gives you less control, which leads to rough work and injuries.
Hand Saw
Despite the prevalence of power tools, a hand saw earns its place. It’s quiet, requires no power, and is the right choice for cuts where setting up a power saw would take longer than making the cut by hand. A crosscut saw (around 8-10 TPI) is the most versatile starting point.
Utility Knife
Used constantly: scribing lines, trimming sheathing, cutting insulation, opening packaging, and dozens of small tasks. A retractable blade with a comfortable grip and easy blade replacement is what to look for. Keep spare blades in your tool bag.
Tool Belt
How you organize and carry your tools affects how efficiently you work. A good tool belt keeps everything within reach without digging through a bag. Look for a leather or heavy canvas model with enough pouches for your specific kit — a wide main pouch, a tape measure clip, and individual pockets for your square and other flat tools. Nylon belts are lighter but wear out faster on rough job sites.
Power Tools & Specialty Equipment
Once you’re past the initial stages and working on full job sites, you’ll need to expand your kit. These tools handle tasks that hand tools can’t do efficiently — or at all.
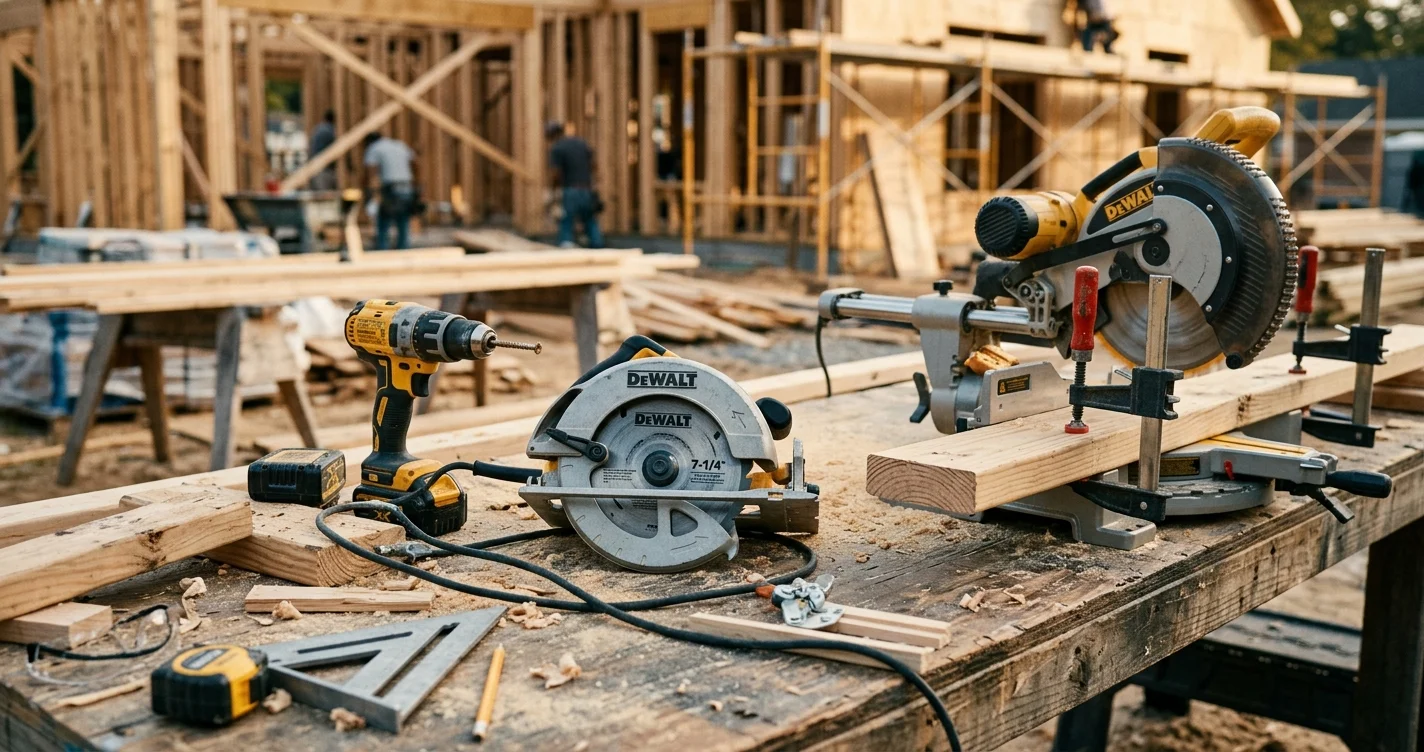
Circular Saw
The workhorse of framing and rough carpentry. A circular saw rips through dimensional lumber, sheet goods, and engineered wood quickly and accurately. A 7-1/4” blade is the standard size and handles everything from 2x framing lumber to plywood decking. Look for a model with a comfortable grip, a clear sight line to the blade, and a depth adjustment that locks solidly. Cordless models have improved dramatically in the last several years and are now viable for full-day framing work.
Miter Saw
Also called a chop saw, a miter saw makes accurate crosscuts and angled cuts in trim, molding, and dimensional lumber. Finish carpenters rely on them heavily for fitting trim and molding. A sliding compound miter saw handles wider boards. For a first power tool beyond a drill, this is often the most useful addition for carpenters who do finish work.
Drill/Driver
A cordless drill/driver handles drilling pilot holes and driving screws — tasks that come up constantly in every type of carpentry. Get two batteries so you always have one charged. A second tool — an impact driver — is worth adding when your budget allows. Impact drivers are better for driving long screws and lag bolts without stripping heads or torquing your wrist.
Clamps
Clamps are the extra hands you never have enough of. They hold work pieces during glue-ups, secure jigs, and stabilize material while you work on it. Start with a few bar clamps (24” and 36”) and a couple of quick-release clamps. You’ll add more as you take on different types of projects.
Safety Gear & PPE

Construction sites have real hazards: flying debris, falling objects, loud equipment, and materials that can cut, puncture, or crush. According to OSHA’s construction PPE standards, employers are required to conduct hazard assessments and provide appropriate protective equipment — but as a carpenter, you’re expected to show up with your own personal basics.
A significant update to OSHA’s PPE requirements went into effect in January 2025, now explicitly requiring that PPE properly fit each individual worker — not just be “available” on site.
Safety Glasses
Rated ANSI Z87.1 or better. You need them any time you’re cutting, nailing, grinding, or working near anyone else who is. Flying wood chips, nail fragments, and sawdust are constant hazards. Wraparound styles offer better side protection; anti-fog coatings matter in cold or humid environments.
Ear Protection
Circular saws, nail guns, and miter saws generate noise levels well above the threshold where OSHA requires hearing protection (85 dB over an 8-hour day). Foam earplugs are the minimum — earmuffs offer better attenuation and are easier to put on and remove repeatedly throughout the day.
Work Gloves
Cut-resistant gloves protect against splinters, rough lumber edges, and sheet metal flashing. You won’t wear them for all tasks — fine finish work requires bare hands for feel — but they’re the right choice for handling materials, moving lumber, and rough carpentry work.
Hard Hat
Required on most commercial and residential job sites when overhead work is occurring. ANSI Class E or Class G hard hats cover general construction hazards. Check the rating stamped inside the brim before you buy — and inspect it regularly for cracks or damage from impacts, even minor ones.
Steel-Toe Boots
A concrete slab, a dropped beam, or a misplaced nail underfoot can cause serious foot injuries. Steel-toe or composite-toe work boots with puncture-resistant midsoles are the standard on construction sites. Slip-resistant soles matter too, especially on wet framing lumber and newly poured concrete. Break them in before your first week — stiff new boots cause blisters that make a long day miserable.
What to Look For When Buying
This section is intentionally brand-agnostic. The goal is to help you compare tools on their merits so you can make good decisions whatever your budget or what your program recommends.
Tape Measure
What it does: Measures distances accurately and repeatedly throughout the workday.
Key features to compare: Blade standout (7 feet or more), blade width (wider blades are more rigid), hook durability (should slide slightly but have no lateral play), grip texture, and whether the case is rubberized for drop resistance.
Price range: $15–$40 for a quality 25-foot model.
Speed Square and Framing Square
What they do: Mark precise angles for cuts and check that assemblies are square.
Key features to compare: Material (aluminum is lighter and won’t rust; steel is more durable), machined edges vs. stamped (machined is more accurate), legibility of the angle markings, and size. Speed squares come in 7” and 12” versions — the 7” fits in a tool belt pouch.
Price range: Speed square $10–$25; framing square $20–$45.
Level
What it does: Confirms surfaces are perfectly horizontal (level) or vertical (plumb).
Key features to compare: Frame material (aluminum holds calibration better than composite), number of vials (horizontal, vertical, and 45-degree), vial readability from above and the side, and whether it has rare-earth magnets for hands-free use on metal surfaces.
Price range: $20–$60 for a quality 4-foot level.
Framing Hammer
What it does: Drives and pulls nails; the primary striking tool in rough carpentry.
Key features to compare: Weight (20–22 oz for framing; 16 oz for finish), face texture (milled face grips nail heads to reduce deflection; smooth face leaves cleaner marks on finished surfaces), handle material (fiberglass and steel absorb shock better than wood for high-volume nailing), and balance.
Price range: $30–$80.
Circular Saw
What it does: Makes straight and angled cuts in lumber and sheet goods quickly.
Key features to compare: Blade size (7-1/4” is standard), motor power (corded: 15-amp is the benchmark; cordless: battery voltage and amp-hour rating), bevel capacity, sight line visibility, and depth-of-cut adjustment ease.
Price range: $80–$180 for corded; $150–$350+ for cordless (often sold as bare tool, battery and charger separate or in a kit).
Miter Saw
What it does: Makes accurate crosscuts, miter cuts, and compound cuts in trim and dimensional lumber.
Key features to compare: Sliding vs. non-sliding (sliding handles wider boards), single bevel vs. compound bevel (compound tilts both directions for complex angles), blade size (10” is the most common), fence accuracy, and dust collection effectiveness.
Price range: $200–$500 for a mid-range 10” compound miter saw; sliding models run $350–$700.
Drill/Driver
What it does: Drills pilot holes and drives screws. The most-used power tool in any carpenter’s kit.
Key features to compare: Chuck size (3/8” or 1/2”), torque settings, battery voltage and compatibility with other tools in the same line (buying into one battery platform saves money), ergonomics, and whether a kit with two batteries and a charger is available.
Price range: $80–$200 for a kit with two batteries; more for premium models.
Chisels
What they do: Pare, trim, and cut wood precisely, especially in areas where power tools can’t reach.
Key features to compare: Steel quality (high-carbon or chrome-vanadium holds an edge better), handle material (wood handles can be struck with a mallet; plastic handles are more durable for heavy use), and whether the set includes a range of widths.
Price range: $30–$80 for a starter 4-piece set.
Safety Glasses
What they do: Protect eyes from flying debris, dust, and splinters.
Key features to compare: ANSI Z87.1 rating (required), wraparound coverage, lens tint (clear for indoor work, tinted for outdoor), anti-fog coating, and fit with hearing protection worn simultaneously.
Price range: $5–$25 per pair. Buy several.
Steel-Toe Boots
What they do: Protect feet from crush injuries, punctures, and slip hazards.
Key features to compare: Toe cap material (steel is heavier but less expensive; composite is lighter and non-conductive), midsole puncture resistance (ASTM F2413 rating), sole slip resistance, ankle support height, and comfort over a full day on concrete.
Price range: $80–$180 for quality work boots that will last through an apprenticeship and beyond.
Budget Guide
What you spend to get started depends on your program’s required list and whether you’re entering a union apprenticeship (some halls supply certain tools or provide a tool allowance) or starting through a trade school.
Apprentice Starter Kit: $300–$700
This covers the hand tools and basic PPE you’ll use every day: tape measure, speed square, framing square, 4-foot level, framing hammer, chalk line, utility knife, nail puller, a basic chisel set, hand saw, safety glasses, ear protection, work gloves, and a tool belt. At this budget level you’re buying functional mid-grade tools — not the cheapest available, but not professional-tier either. That’s the right call when you’re still figuring out what you’ll reach for most. Add steel-toe boots if you don’t already have them: that’s another $100–$180 on top.
Adding Power Tools: $400–$800 additional
A cordless drill/driver kit and a corded circular saw get you through most apprenticeship-level work. If your program or contractor provides power tools, defer those costs and direct that money toward quality hand tools instead.
Professional Setup: $2,000–$5,000+
A fully equipped journeyman or lead carpenter carries a broader and higher-quality kit: a miter saw (sliding compound), an impact driver alongside the drill, a full clamp collection, a jigsaw, a router for finish and millwork, professional-grade measuring and layout tools, and a complete PPE setup. Specialty carpenters — cabinetmakers, timber framers, finish carpenters — build additional kits tailored to their work. These costs accumulate over years, not all at once.
The key point: you build this gradually. Don’t buy professional-grade everything before you know what you’ll actually use.
Tool Care & Maintenance Tips

Good tools last a long time when you take care of them. Carpentry tools aren’t delicate, but they do respond to regular attention.
Keep blades and chisels sharp. A sharp chisel cuts cleanly with less force; a dull one skates and requires you to push harder, which reduces control and increases the chance of slipping. Circular saw blades dull over time and need replacing — a blade that’s struggling through wood it used to cut easily is costing you time and putting stress on your saw’s motor.
Clean tools after use. Sawdust and pitch build up on saw blades, in clamp mechanisms, and in the crevices of hand tools. Wipe blades down with a light oil or a pitch remover if they’re sticky. Keep metal surfaces lightly oiled to prevent rust, especially in humid job site environments.
Inspect your level regularly. Levels can go out of calibration from drops and rough handling. To check one: set it on a flat surface, note where the bubble sits, then flip it 180 degrees end-for-end on the same spot. If the bubble is in the same position, it’s accurate. If not, it needs recalibration or replacement.
Store power tool batteries properly. Lithium-ion batteries last longer when stored partially charged (not fully depleted and not fully topped off) at room temperature. Don’t leave them in a hot truck bed or a cold garage overnight.
Check your hard hat. Hard hats have a service life and need to be replaced after any significant impact — even if there’s no visible damage. The internal suspension absorbs force, and that capacity is diminished after a hard knock. Check the manufacturer’s guidance on replacement intervals (typically 2–5 years from the date stamped inside the shell).
Keep cutting tools away from concrete and metal. Hand saw teeth, chisel edges, and circular saw blades dull fast when they contact anything harder than wood. Set your work up properly so you’re not cutting into the subfloor or a screw head by accident.
Start Your Carpentry Career
Having the right tools gets you ready to work — but the larger question is what a carpentry career actually looks like over time. If you’re weighing whether carpentry is the right trade for you, what the earning potential is at different stages, and how the work varies between framing, finish, and specialty work, read our full guide on carpentry career opportunities.
If you’re still deciding between a trade school program and a union apprenticeship, our apprenticeships explained article covers how each path is structured and what to expect from both. And if you’re concerned about paying for your training, financing trade school walks through the options available to you.
Carpentry rewards people who take the craft seriously. Getting your tools sorted out before you start is one of the first ways you can show that.
Sources
- U.S. Bureau of Labor Statistics — Occupational Outlook Handbook — “Carpenters” — https://www.bls.gov/ooh/construction-and-extraction/carpenters.htm
- OSHA — “Personal Protective Equipment — Construction” — https://www.osha.gov/personal-protective-equipment/construction
- OSHA — “Occupational Noise Exposure” — https://www.osha.gov/noise
- Federal Register — “Personal Protective Equipment in Construction” — December 2024 — https://www.federalregister.gov/documents/2024/12/12/2024-29220/personal-protective-equipment-in-construction
- Talking Tradesmen — “Carpenter Tools List” — https://talkingtradesmen.com/carpenter-tools-list/
- Invoice Fly — “30+ Best Woodworking & Carpentry Tools (2025)” — https://invoicefly.com/academy/carpentry-tools/