
Carpentry is a hands-on trade in the most literal sense, and that is exactly where it hurts people. In the most recent Bureau of Labor Statistics snapshot for the occupation, private-industry carpenters reported 11,960 injuries serious enough to cost days away from work in 2020, a rate of 202.7 cases per 10,000 full-time workers. The hand was the body part injured most often.
Most of those injuries follow predictable patterns: a board kicks back off a table saw, fingers drift too close to a blade, a ladder or scaffold gives way, a nail gun fires when nobody meant it to. That predictability is good news. It means the habits that prevent injuries can be learned, and the best time to learn them is at the start, in a first woodshop class or the first months of a carpentry program, before shortcuts become routine.
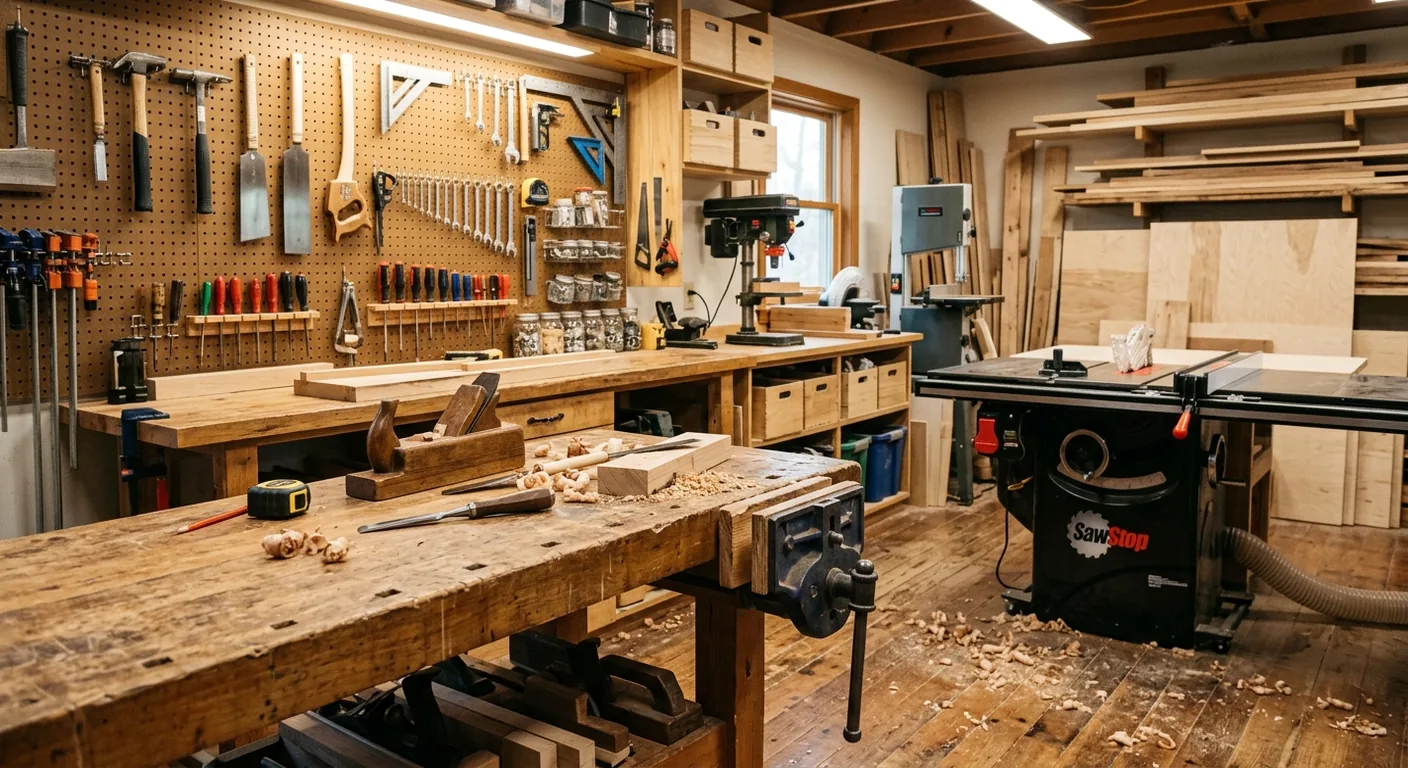
This guide covers the rules that apply to every machine, how to use the most common shop tools safely one at a time, and the jobsite hazards that matter once you move from the shop to construction work. It is written for students, parents helping set up a first shop, and anyone starting out in the trade. If you’re still building your shop, start with our guide to setting up your first carpentry workshop on a budget, then come back here before the first cut.
Shop Rules That Apply to Every Machine
Machine-specific technique matters, but most shop injuries trace back to a short list of general habits. These come up in nearly every school and university shop manual, including the woodshop safety guide for students from OSHA Education Center, which collects rules from dozens of college shop programs.
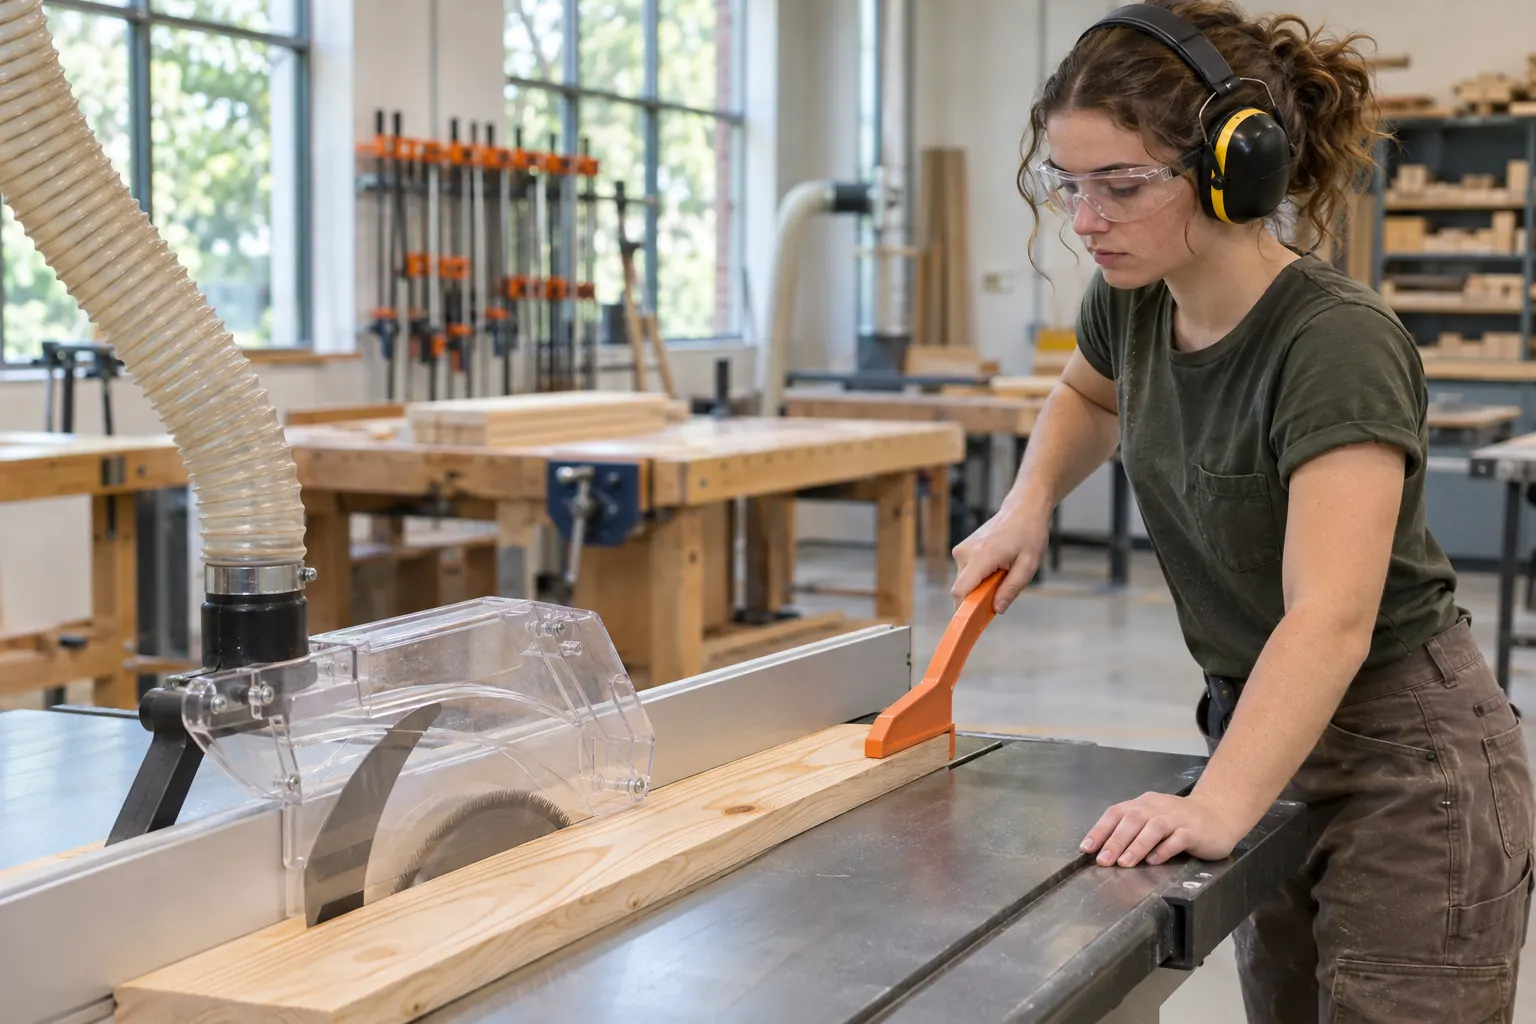
Protect your eyes, ears and lungs every time. Safety glasses go on when you walk into the shop, not when you switch on a machine, because the person at the next bench can throw a chip just as easily as you can. Hearing protection belongs on for routers, planers, table saws and miter saws. Fine dust is a long-term hazard: OSHA classifies wood dust as a carcinogen, so dust collection at the source plus an N95 or better respirator for sanding is part of basic safety, not an upgrade. Our essential tools guide for carpenters covers what PPE to buy and what ratings to look for.
Dress so nothing can get caught. Rotating blades, bits and belts grab loose material and pull it in faster than you can react. Tie back long hair, roll up or remove loose sleeves, take off rings, watches and bracelets, and skip hoodies with drawstrings. Wear closed-toe shoes with grippy soles.
Get trained on a machine before you use it. Watching a classmate run the jointer is not the same as being shown how to set it up, feed stock and shut it down. In a school shop, wait for your instructor’s sign-off. At home, read the manual and watch the manufacturer’s setup material before plugging anything in.
Never adjust a running machine. Fence changes, blade height, bit swaps and clearing offcuts all wait until the machine is off and fully stopped. For blade and bit changes, unplug it.
Keep the floor and tables clear. Offcuts and sawdust piles are trip hazards around spinning blades, and sawdust is also fuel. Sweep up between operations, and know where the fire extinguisher and first aid kit are.
Work only when you can focus. If you’re tired, rushed or distracted, stop. Most woodworkers who have had a close call can tell you exactly which corner they were cutting when it happened.
Machine by Machine
Each tool has its own failure modes. The points below are the ones that matter most for beginners; your instructor and the tool’s manual are the final word on any specific machine.
Table Saw
The table saw is the most useful tool in most shops and the one responsible for the most serious injuries. The U.S. Consumer Product Safety Commission estimated between 29,500 and 34,600 emergency-room-treated table saw blade-contact injuries each year from 2010 to 2021, and a CPSC special study of 2017 incidents put amputations at roughly 2,800 that year, about one in ten blade-contact injuries.
Many of those injuries start with kickback: the blade catches the workpiece and throws it back toward the operator, often pulling the operator’s hand toward the blade in the process. OSHA’s woodworking guidance on kickback lists the usual causes, including dull blades or a blade set at the wrong height, stock that twists and binds, knotty or wet wood or wood with embedded nails, missing spreaders or anti-kickback fingers, and ripping (cutting with the grain), which kicks back more often than crosscutting.
How to work safely:
- Keep the guard, riving knife (or spreader) and anti-kickback pawls installed. They exist specifically to stop the kerf from closing on the blade. If a cut truly requires removing them, that is a cut to plan with your instructor, not to improvise.
- Use the rip fence for rips and a miter gauge or crosscut sled for crosscuts, never both at once. Trapping a cutoff between the fence and the blade is a classic kickback setup. OSHA’s table saw guidance also advises against crosscutting long boards on a table saw.
- Never cut freehand. Every piece rides against the fence or a gauge.
- Use a push stick or push block whenever your hand would come close to the blade, which on narrow rips is the whole cut.
- Stand to the side of the blade, not directly behind it, so anything that kicks back misses you.
- Keep the blade sharp and clean, and don’t force the feed. If the saw bogs down or the board starts to bind, stop the cut, turn the saw off and wait for the blade to stop before backing the board out.
If you are buying a saw, it is worth knowing that the CPSC’s rulemaking is about blade-contact injury mitigation technology, which stops or retracts the blade on contact with skin. Saws with that feature cost more, but the safety case for them comes straight from the injury data above.
Miter Saw
The miter saw feels less intimidating than the table saw, which is part of the risk. Keep your hands outside the no-hands zone marked on the saw’s table, hold or clamp the workpiece firmly against the fence, and let the blade reach full speed before lowering it. Let the blade stop completely before raising it out of the cut, and never reach across the blade to grab an offcut. Short pieces should be clamped, not held.
Router
Routers spin far faster than saws, so a bit catching the wood can yank the tool or the workpiece hard. Feed against the bit’s rotation so the bit is cutting into the work rather than climbing along it, take several shallow passes instead of one deep one, and make sure the bit is fully seated and tightened in the collet. On a router table, use the fence, featherboards and push blocks to keep your fingers away from the bit.
Band Saw
The OSHA Education Center guide recommends keeping fingers at least 2 inches from the blade and never reaching across it. Set the upper blade guide just above the workpiece so as little blade as possible is exposed, use a push stick for small pieces, and keep your body out of line with the blade in case it snaps. Don’t back the workpiece out of a long curve with the saw running, since that can pull the blade off its wheels; make relief cuts before tight curves instead.
Jointer
A jointer’s cutterhead sits right under the path of your hands, so the rule is simple: your hands never pass directly over it. Use push blocks for every pass. The same OSHA Education Center guide recommends against jointing stock shorter than 12 inches or thinner than half an inch, because small pieces can tip into the cutterhead. Check boards for nails or staples first, confirm the guard springs back over the cutterhead after each pass, and feed at a steady pace without stopping midway.
Drill Press
Clamp the workpiece to the table. A bit that catches can spin an unclamped board like a propeller. Remove the chuck key every single time before switching on, set the speed to match the bit size and material, and let the bit stop before clearing chips or removing the work.
Belt and Disc Sanders
On a disc sander, work only on the side of the disc moving down toward the table; the upward side will lift the piece out of your hands. Keep the table close to the abrasive so small parts can’t get pulled into the gap, use light pressure, and hold small parts in a jig or clamp rather than with your fingertips. Sanding also produces the finest dust in the shop, so run dust collection and wear a respirator.
Hand Tools
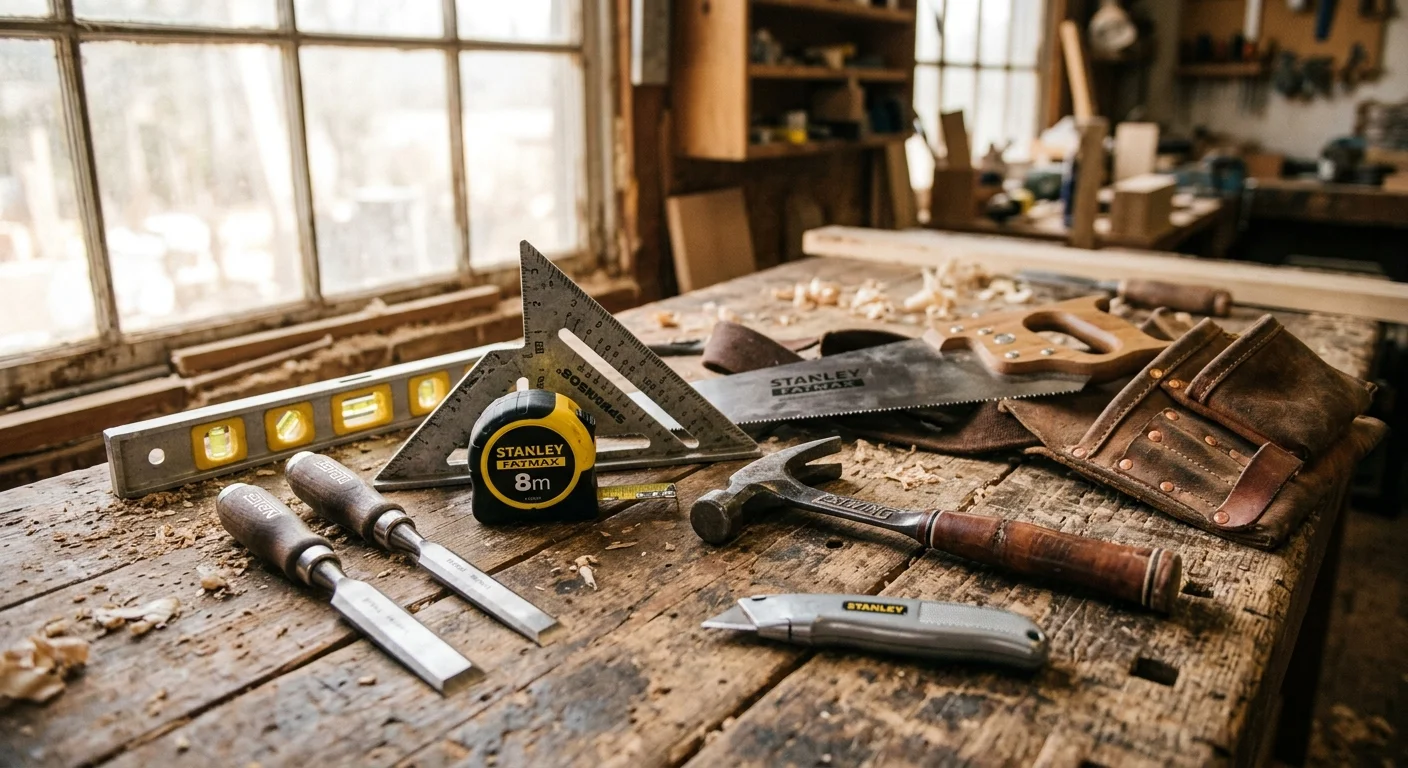
Hand tools cause a large share of shop cuts. In the BLS carpenter data, hand tools were a top source of injuries, behind only parts and materials. Keep chisels and plane irons sharp, because a dull edge needs more force and slips. Cut away from your body, keep your free hand behind the cutting edge, and clamp the workpiece so both hands are on the tool.
Safety on the Jobsite
Many carpentry students eventually move from the shop into construction work, and the hazard profile shifts. The biggest single danger on a construction site is not a blade but height. OSHA reports that falls are the leading cause of death in construction, with 389 fatal falls to a lower level out of 1,034 construction deaths in 2024. For carpenters specifically, falls, slips and trips accounted for 48 of the 79 carpenter deaths BLS recorded in 2020. Falls to a lower level were also the second most common cause of carpenters’ serious nonfatal injuries, after being struck by objects or equipment.
That makes fall protection the jobsite skill to take most seriously: using guardrails and personal fall arrest systems where required, setting up and climbing ladders correctly, and never working on a scaffold that hasn’t been inspected.
The other jobsite tool worth singling out is the nail gun. A joint NIOSH and OSHA guide, Nail Gun Safety: A Guide for Construction Contractors (September 2011), estimated nail guns cause about 37,000 emergency room visits a year. The guide cites a study in which 2 out of 5 residential carpenter apprentices had a nail gun injury over a four-year period. Its most important finding concerns trigger type: the risk of injury with a contact trigger is about twice as high as with a full sequential trigger, which fires only when the nose is pressed against the work before the trigger is pulled. The guide’s first recommendation is to use full sequential triggers. It also calls for training, written work procedures, PPE, and reporting injuries and close calls.
Training That Builds Safe Habits
Rules on a page only go so far. Safety becomes automatic through supervised repetition, which is one of the strongest arguments for formal training over teaching yourself. In a good program, an instructor checks your setup on each machine before you run it alone and corrects a bad habit the first time it shows up, not after an injury.
When you compare carpentry programs or woodworking programs, ask how shop safety is taught: whether students are signed off machine by machine, whether the shop’s saws have modern guards and blade-contact safety features, and whether the program includes OSHA 10-Hour Construction outreach training as part of the curriculum. Our rankings of the best carpentry schools are a useful starting point for building that shortlist.
The payoff is a long career. The BLS projects about 74,100 openings for carpenters each year through 2034. The carpenters who last in the trade are usually the ones who treated safety as part of the craft from their first day in the shop. For more on the paths into the trade, see our guide on how to become a carpenter, or explore the carpenter career profile.
Sources
- Staff Writer — OSHA Education Center — “Safety Guide for Woodworking Students” — accessed November 2026 — https://www.oshaeducationcenter.com/woodworking-safety/
- U.S. Consumer Product Safety Commission — Federal Register, Vol. 88, No. 210 — “Safety Standard Addressing Blade-Contact Injuries on Table Saws” (supplemental notice of proposed rulemaking) — November 1, 2023 — https://www.govinfo.gov/content/pkg/FR-2023-11-01/html/2023-23898.htm
- OSHA — Woodworking eTool — “Machine Hazards: Kickbacks” — https://www.osha.gov/etools/woodworking/machine-hazards/kickbacks
- OSHA — Woodworking eTool — “Rough Mill Equipment: Table Saws” — https://www.osha.gov/etools/woodworking/rough-mill/equipment/table-saws
- U.S. Bureau of Labor Statistics — Occupational Safety and Health Snapshot — “Carpenters, 2016–20” — https://www.bls.gov/iif/snapshots/osn-carpenters-2016-20.htm
- OSHA — “Stop Falls” (fall prevention campaign, citing BLS 2024 fatality data) — https://www.osha.gov/stopfalls
- NIOSH and OSHA — “Nail Gun Safety: A Guide for Construction Contractors” — DHHS (NIOSH) Publication No. 2011-202 — September 2011 — https://www.cdc.gov/niosh/docs/2011-202/pdfs/2011-202.pdf
- OSHA — “Wood Dust” — https://www.osha.gov/wood-dust
- U.S. Bureau of Labor Statistics — Occupational Outlook Handbook — “Carpenters” — https://www.bls.gov/ooh/construction-and-extraction/carpenters.htm