
The plumbing edition of our guide to starting a trade business — licensing, insurance, pricing, and customers, in the order they actually happen.
Plumbing is one of the few trades where going out on your own is a well-worn path, not a leap of faith. The U.S. plumbing industry generates $191.4 billion a year across roughly 128,800 businesses, according to IBISWorld’s 2026 industry report — and the overwhelming majority of those businesses are small shops, not national chains. The Bureau of Labor Statistics counts 504,500 plumber, pipefitter, and steamfitter jobs in the country, projects about 44,000 openings every year through 2034, and reports that around 8% of plumbers already work for themselves.
So the market is there. What stops most plumbers is not demand — it’s the business side: which license lets you legally pull permits under your own name, what insurance actually costs, how to price work as an owner instead of an employee, and where the first customers come from. This guide walks through each step in order, with real numbers and links to the primary sources so you can verify everything against your own state’s rules.
First, the Education: What Has to Happen Before Any of This
Every step below assumes you can already do the work — and in plumbing, “can do the work” has a paper trail. The standard route, per the Bureau of Labor Statistics, is a high school diploma followed by a 4–5 year apprenticeship that combines paid on-the-job training with classroom instruction. Those apprenticeship years aren’t a formality: they are the logged hours your future license application will be judged on.
A formal plumbing program shortens and strengthens that path in two ways. First, many states credit classroom instruction toward licensing requirements — Texas, for example, requires a 48-hour board-approved training course on top of logged hours before you can sit for the journeyman exam, and an approved program checks that box. Second, contractors hiring apprentices favor candidates who already know code basics, so a program gets you into hour-logging jobs faster. If you’re at this stage, start with our guide on how to become a plumber, compare plumbing technology programs near you, and see our data-driven ranking of the best plumbing schools in the US.
Then there’s the education nobody schedules: the business side. Bookkeeping, cash flow, hiring, and marketing sink more trade businesses than bad workmanship does. You don’t need an MBA — a few evenings with the SBA’s Learning Platform, which offers no-cost short courses on business planning, financing, and marketing, covers the fundamentals. Community colleges’ small-business certificate courses are a step up from that if you want structure and an instructor.
The sequencing matters: finish the trade education, log the hours, and pick up the business fundamentals while you’re still on someone else’s payroll. The day you go independent, you want the only remaining unknowns to be the ones no course can teach.
Step 1: Get the Right License — Not Just a License
The single most common misunderstanding among plumbers going independent: the license you’ve been working under belongs to your employer, not to you. Ten years of experience under someone else’s master or contractor license does not, by itself, let you pull permits as your own business.
Most states use some version of this ladder:
- Apprentice — you work under supervision while logging hours, usually through a registered apprenticeship or a plumbing program.
- Journeyman — you’ve logged the required hours and passed an exam. In Texas, for example, the journeyman license requires 8,000 hours of experience plus a 48-hour board-approved training course.
- Master plumber — additional years and another exam. This is typically the level you need to operate a business and pull permits. Colorado requires five full-time years (8,500 hours) of practical experience for a master license. Maryland requires holding a journey license for at least two years plus 3,750 hours of training under a master. Michigan requires 4,000 hours of work as a journey plumber over no less than two years.
- Plumbing contractor license — in several states this is a separate, business-level license layered on top of a master license.
Notice how different those four states already are — and that’s just four. Before you spend a dollar on anything else, find your state plumbing board’s website and confirm exactly which license you need to operate as a business owner and how many of your logged hours count toward it.
Action: Look up your state plumbing board. Write down the exact license level required to run a business and pull permits, and how many hours you still need to get there.
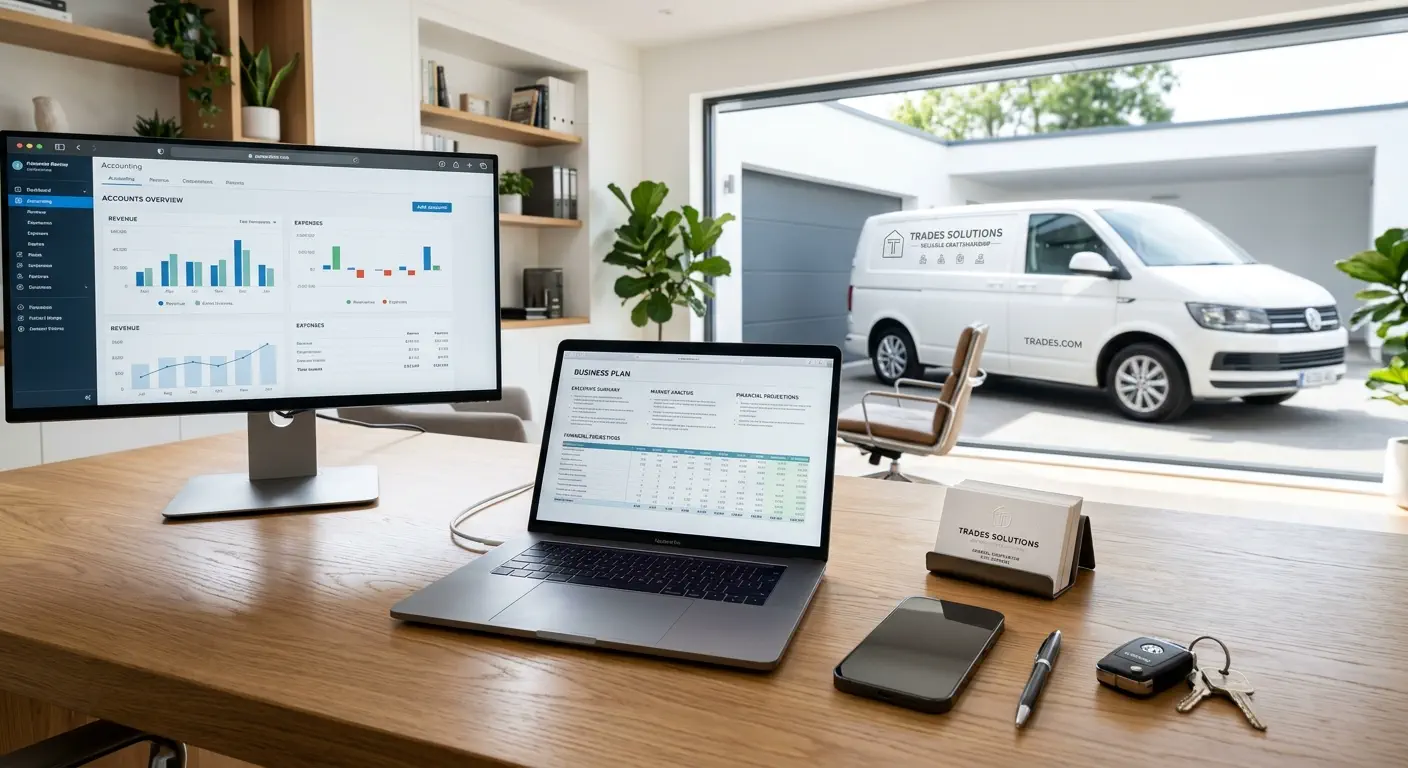
Step 2: Make the Business Real on Paper
Once the license path is clear, register the business.
Structure. Most solo plumbers form an LLC. It separates your personal assets — house, truck, savings — from business liabilities, it’s inexpensive to file, and the taxes stay simple. A sole proprietorship is even simpler but offers no liability protection, which matters a great deal in a trade where a single failed fitting can flood a finished basement. A 30-minute conversation with an accountant before you file is money well spent, because switching structures later is more painful than starting right.
EIN. Once the entity exists, get an Employer Identification Number directly from the IRS website — it costs nothing and takes minutes. You’ll need it for a business bank account, and you want that account open before your first invoice, not after.
Name. Clear and local beats clever. Customers search for what they need and where they are — “Dave’s Plumbing of Tucson” gets found; an abstract brand name doesn’t. Before committing, check that the name is available three ways: as a registered business in your state, as a .com domain, and as an unclaimed listing on Google Maps.
Action: File the LLC, get the EIN, open a business bank account, and lock down the matching domain — all in the same week, so nothing drifts.
Step 3: Write the One-Page Plan
You don’t need a 40-page document. You need one page that answers four questions: who do I serve, what do I charge, what does it cost me to operate each month, and how many jobs do I need to break even?
Decide your lane first — residential service calls, remodel work, new construction, or commercial. Each has different licensing exposure, different customers, and very different cash-flow patterns. Residential service is where most solo operators start because jobs are short and customers pay on the spot.
Then do the break-even math: total monthly costs (insurance, van payment, fuel, phone, software, loan payments, your own salary) divided by average profit per job equals the number of jobs you need each month to survive. That number belongs somewhere you’ll see it every day.
Action: Write the one-pager and memorize your monthly break-even number before you buy anything.
Step 4: Insurance and Bonding — the Non-Negotiables
This is what separates a business from a person with a pipe wrench, and it’s usually a licensing prerequisite, not an option.
General liability insurance. Covers property damage and injury claims — the flooded-basement scenario. Insureon, which brokers small-business policies, reports that plumbing businesses pay an average of $115 per month, about $1,378 per year, for general liability coverage. Your actual premium depends on state, revenue, and crew size.
Workers’ compensation. Required in most states the moment you hire anyone. Insureon’s data puts the plumbing-industry average around $195 per month.
Surety bond. Many states and cities require a license bond before issuing or maintaining a contractor license. California, for instance, requires every licensed contractor to file a $25,000 bond with the Contractors State License Board. You don’t pay the face amount — you pay an annual premium that’s a small percentage of it, based largely on your credit.
Commercial auto. Your personal auto policy will not cover a van used for work. Get a commercial policy before the van carries a single fitting.
Action: Get quotes from two or three independent agents who work with trade contractors, and look up your state’s bond requirement on the licensing board site — it’s usually listed right next to the license application.
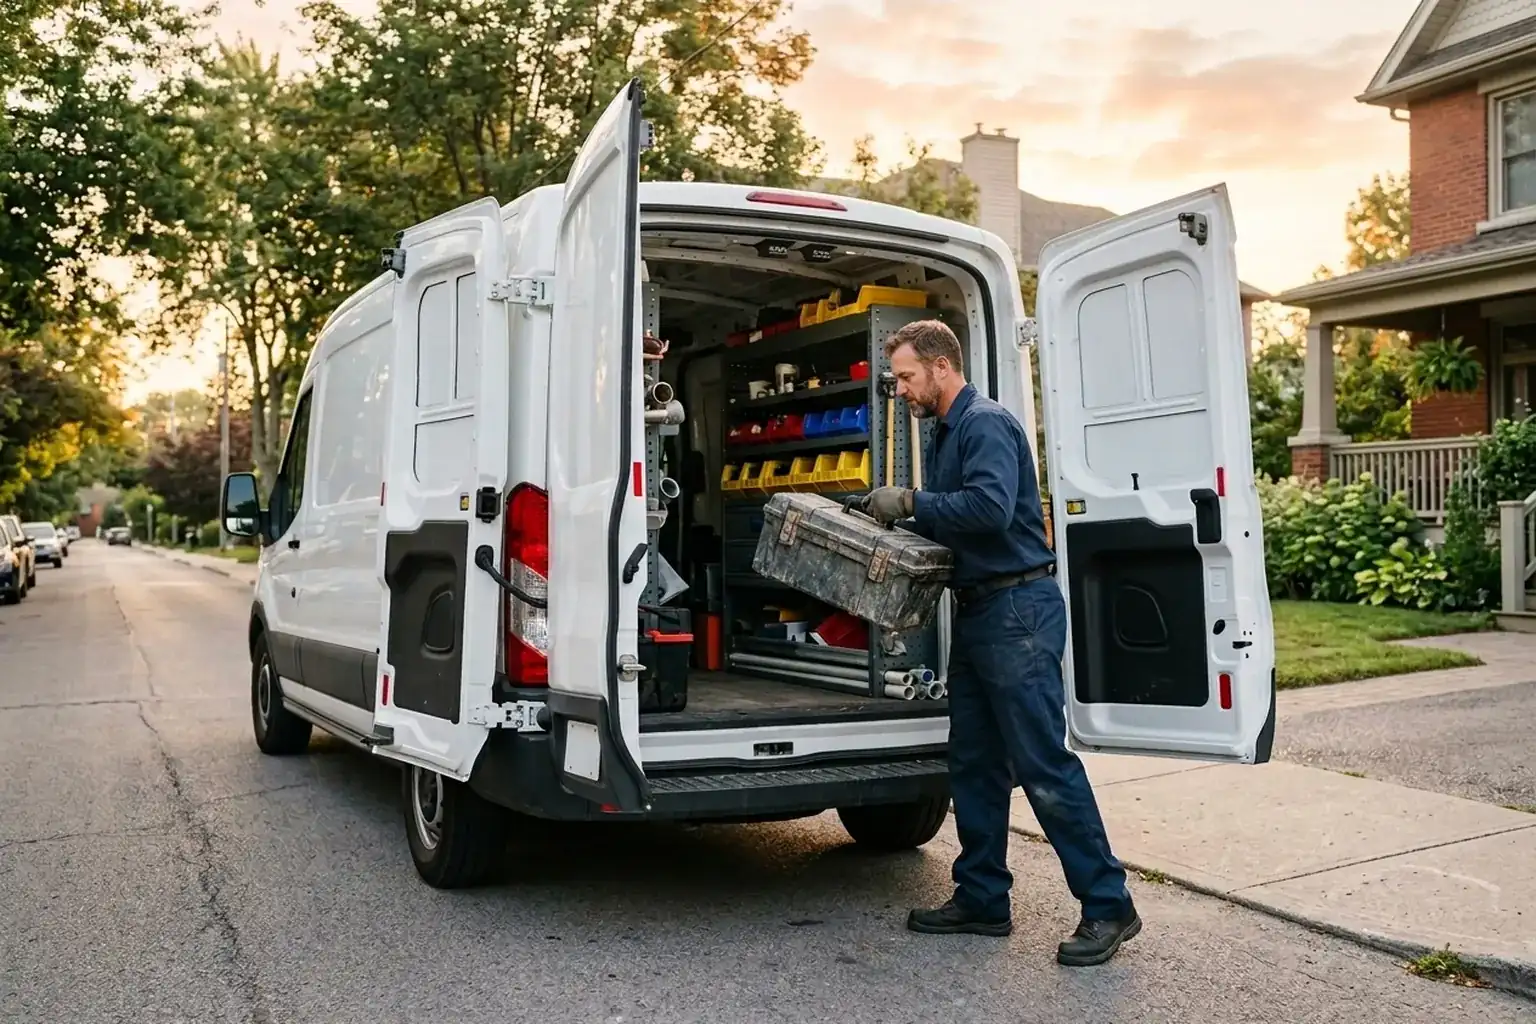
Step 5: The Van, the Tools, and the Tech
You already own most of your hand tools. The startup spending goes to three places:
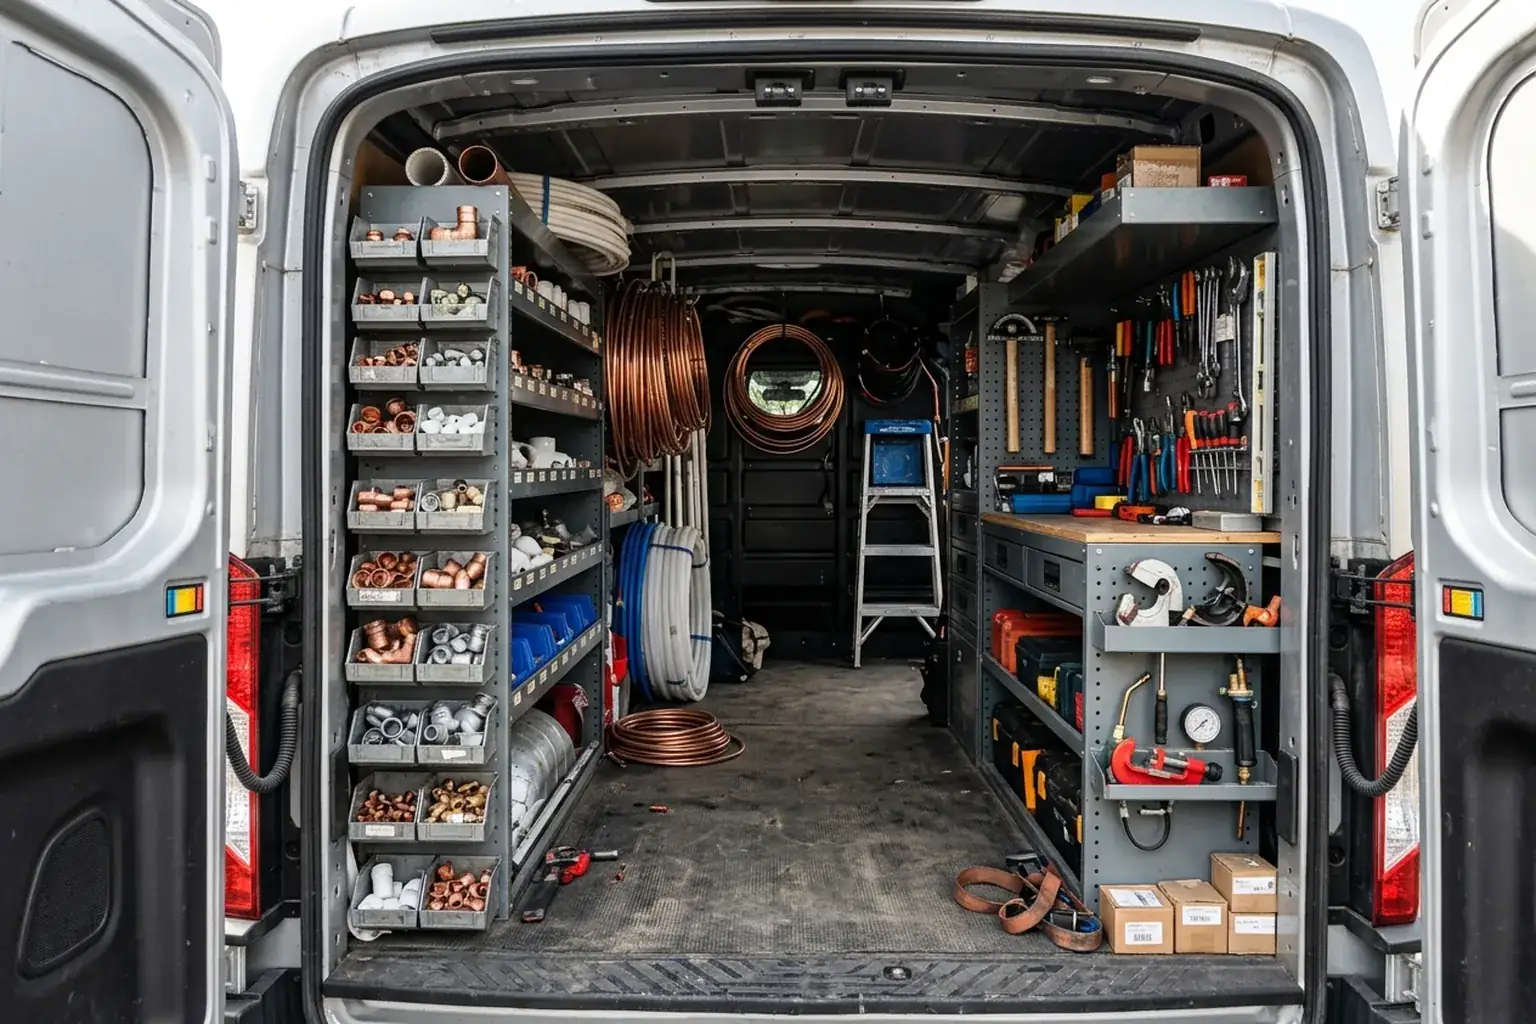
The van. A clean used cargo van beats a new one whose payment eats your margin every month. Shelve and organize it so you’re not billing customers for time spent digging through a pile of fittings. Lettering or a wrap — name, phone number, “licensed and insured” — turns every parked job into advertising.
Stock. Carry enough common fittings, valves, supply lines, and wax rings to finish routine jobs in one trip. A mid-job supply-house run is time nobody pays you for, and on a short service call it can eat a third of the visit.
The office in your pocket. This is where new owners underspend. Minimum viable stack: on-site card payments, estimating and invoicing software, a scheduling system (a shared calendar works at the start), and a dedicated business phone line — keeping it separate from your personal number means you can eventually stop answering it at dinner.
Action: Price out your specific launch list — van (if needed), shelving, initial stock, software subscriptions — and put real numbers into the one-page plan from Step 3.
Step 6: Price Like an Owner, Not an Employee
This is where new plumbing businesses quietly die. BLS pegs the median plumber wage at $30.27 an hour ($62,970 a year) — but that’s an employee number. An owner’s rate has to also cover insurance, the van, fuel, tools, software, taxes, unpaid drive time, slow weeks, and actual profit on top.
Two pricing models dominate:
- Flat-rate. A set price per job — a water heater swap costs what it costs, however long it takes. Customers like knowing the total upfront, and you’re rewarded for speed and skill. This is the standard for residential service work.
- Time and materials. Hourly plus parts. Easier to start with, but it punishes efficiency and produces surprise totals that customers resent.
Whichever model you choose, build it from your real costs: add up every monthly expense, then divide by your honestly billable hours — for a solo operator, drive time, quoting, and paperwork push that figure well below a full 40-hour week. The result is your floor. For most solo shops that math lands at a multiple of the wage they earned as an employee, because the employee version of you never had to pay for insurance, the van, or the slow weeks.
Action: Calculate your true minimum hourly rate from your own cost sheet before you quote your first job — never by copying a competitor’s number.
Step 7: Make the Phone Ring
A license and a stocked van earn nothing until someone calls. In order of return on effort:
- Google Business Profile. When a homeowner searches “plumber near me,” the map results are Google Business Profiles. Setting one up costs nothing. Fill out every field — photos, services, hours, service area — because complete profiles rank ahead of sparse ones.
- Reviews. Local service work runs on them. Ask every satisfied customer, on the spot, before you leave the driveway. A steady stream of recent reviews is the strongest signal a new shop can send.
- A simple website. One page covering your services and service area, with a phone number a homeowner can tap from their phone. It feeds your Google ranking and gives referrals somewhere to verify you’re real.
- The referral network. Tell every general contractor, real estate agent, and property manager you’ve ever worked with that you’re open. Plumbers get steady work from other trades — and from pipefitters and steamfitters working commercial jobs that need a licensed sub.
Paid ads can work later, once the unpaid channels are producing and you know your numbers well enough to know what a lead is worth.
Action: Create and fully complete your Google Business Profile the same week you open — it’s the highest-return marketing hour you’ll spend all year.
The Launch Checklist, in Order
- Finish the trade education and log your apprenticeship hours — pick up business fundamentals along the way
- Confirm your state’s license requirement for business owners — and close any hours gap
- Form the LLC, get the EIN, open the business bank account
- Write the one-page plan and memorize your break-even number
- Line up general liability, the state bond, and commercial auto
- Outfit the van, stock it, and set up payments/invoicing/scheduling
- Build your rate from your real costs, not your old wage
- Launch the Google Business Profile and start collecting reviews
Do them in this order and you avoid the classic traps: a van with no way to take payment, a license with no bond behind it, or a full calendar of jobs priced below what they cost you to run.
The trade skills were the hard part, and you already have them. The business side is a finite checklist — and unlike the 8,000 hours, you can get through this part in a couple of months.
Sources
- U.S. Bureau of Labor Statistics — Occupational Outlook Handbook — “Plumbers, Pipefitters, and Steamfitters” — updated August 28, 2025 — https://www.bls.gov/ooh/construction-and-extraction/plumbers-pipefitters-and-steamfitters.htm
- IBISWorld — “Plumbers in the US — Industry Analysis, 2026” — https://www.ibisworld.com/united-states/industry/plumbers/1946/
- Insureon — “Plumbing Business Insurance Cost” — https://www.insureon.com/construction-contracting-business-insurance/plumbing/cost
- Texas State Board of Plumbing Examiners — “Journeyman Plumber License Requirements” — https://tsbpe.texas.gov/license-types/journeyman/
- Colorado Department of Regulatory Agencies — “Plumbing Applications and Forms” — https://dpo.colorado.gov/Plumbing/Applications
- Maryland Department of Labor — “License Requirements — Plumbing” — https://www.labor.maryland.gov/license/pl/plreq.shtml
- Michigan Department of Licensing and Regulatory Affairs — “Plumbing Examination, Licensing/Registration & Application Information” — https://www.michigan.gov/lara/bureau-list/bcc/sections/licensing-section/exam-lic/plumbing-examination-licensing-registration-application-information
- California Contractors State License Board — “Bond Requirements” — https://www.cslb.ca.gov/contractors/maintain_license/bond_information/bond_requirements.aspx
- U.S. Small Business Administration — “SBA Learning Platform” — https://www.sba.gov/sba-learning-platform